Stargazing Through the Lens: A guide to shoot milky way
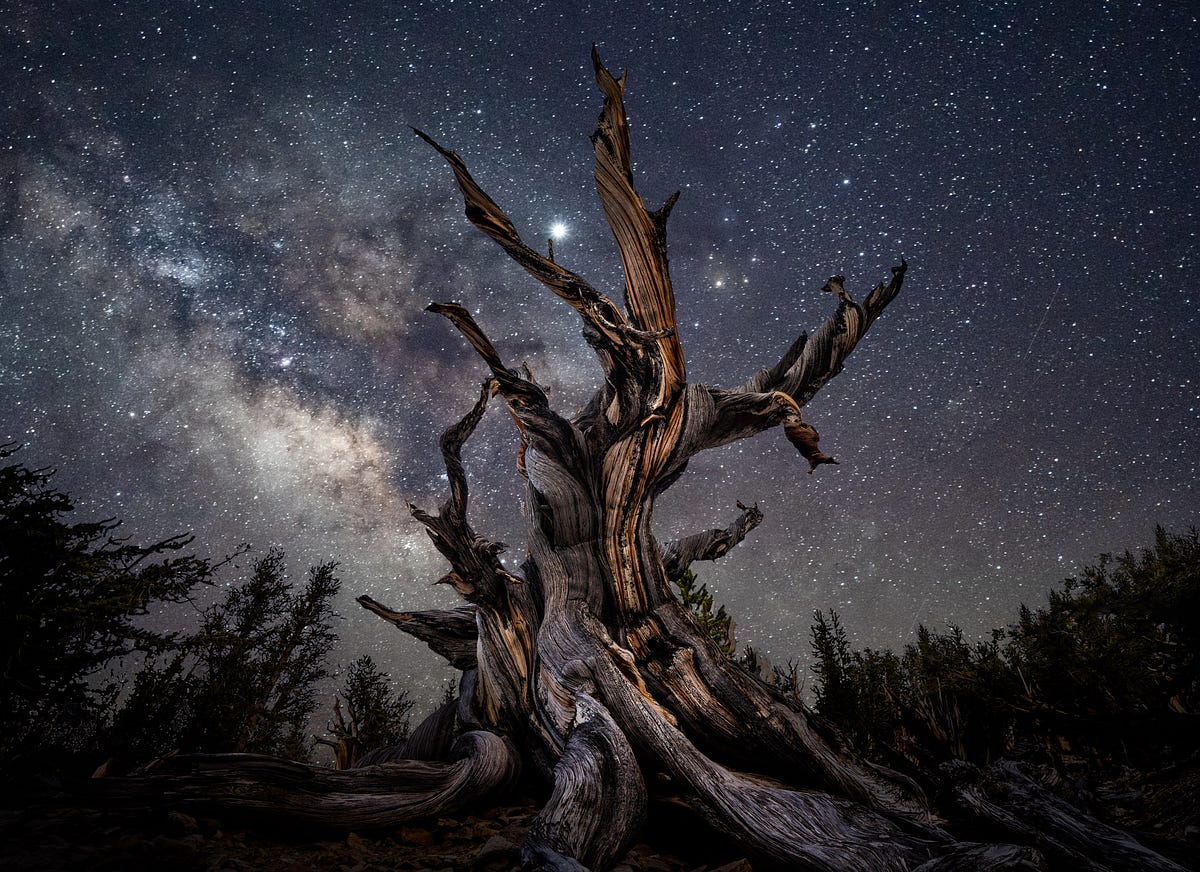
Capturing the Milky Way through your lens is undeniably one of life’s most amazing experiences. But even if you’re not aiming to photograph it, simply sitting under a starlit sky offers its own profound rewards. I’m a big advocate for more people having this experience.
My mission here is to inspire more of you to step outdoors, look up, and immerse yourself in the stunning beauty of the universe. I really think if everyone took a moment to look at the stars every now and then, it’d change how we see things. The big sky makes everyday problems seem pretty insignificant and fleeting.
In this post, I want to help those of you who are just starting out with night sky photos. I hope it brings you as much joy as it’s given me.
Essentials for the Shoot:
- A Truly Dark Spot: The magic of Milky Way photography emerges away from city lights, under clear, dark nights.
- A Wide, Fast Lens Camera:
- Wide means capturing a broad scene, ideally within the 14–24mm range.
- Fast refers to a low f-stop number, like f/1.4 or f/1.8. Remember, the smaller the number, the more light it gathers. But hey, don’t break the bank — today’s smartphones can snap some pretty neat night sky shots. More on this later.
- A sturdy Tripod: For crisp, clear shots.
Step 1: Picking the Perfect Spot and Time
- Head somewhere distant from city lights. The clearer the sky, the better. Websites such as lightpollutionmap.info can help you locate the darkest heavens.
- A moonless sky is ideal. Check moonrise and set times, maybe using this handy app. A new moon phase ensures pitch-black conditions.
- Position matters! Use tools like Sky Guide or Photo Pills to know when and where the Milky Way will show best.
- Here’s a tip: scout your shooting location during the day or at sunset. Get a feel of the place, plan your shots, and set the scene.
Step 2: Gear Up
- Get your composition right, ideally in daylight. Plant that tripod firmly and mount your camera.
- If you’re into composite shots i.e., capturing foreground and sky separately then I recommending shooting the foreground during twilight. For a single shot, wait for the Milky Way’s grand entrance.
- Compose your frame with intriguing foregrounds like peaks, trees, or landmarks. Your photo should tell a story where the Milky Way plays a starring role.
- Craft your composition. Use composition techniques like leading lines, the rule of thirds, and symmetry to get that jaw-dropping shot.
Step 3: Dialing In Those Camera Settings
- Switch to Manual mode. Crank up the ISO — maybe to 3200 or 6400. The faster your lens, the lesser the ISO you’ll need.
- Open up that aperture to something like f/2.8 (ideally to widest your lens can provide).
- Long exposures are your friend — but too long, and stars turn into streaks. Keep it just right to capture stars as dots, not dashes.
- Use Rule of 500 to figure out how long you can set your shutter speed. It’s a simple math: 500 divided by your lens’s focal length. So, with a 20-mm lens, 500 / 20 = 25 seconds before stars begin to trail. (Note: This rule applies to full frame focal lengths).
Step 4: Ready, Set, Shoot!
- To keep things shake-free, use a remote shutter or your camera’s self-timer. I prefer the 5-second self-timer, so I don’t have to carry an extra gadget with me.
- Review your test shot’s brightness using the histogram. Its easy to underexpose in the dark as any light appears too bright. Adjust your settings accordingly — you don’t want an underexposed image.
- Mix up your settings across several shots for the best outcomes. You can increase the exposure by lowering aperture, increasing shutter, or increasing ISO.
- Pro tip: stacking multiple shots together can help reduce noise, especially with those high ISO shots.
Step 5: The Finishing Touches
- Use software such as Adobe Lightroom or Photoshop to perfect your masterpiece. Tweak exposure, contrast, colors, and sharpness. Getting white balance right is the key here.
- Enhance the Milky Way’s allure but keep things real.
- Trim out distractions, fix lens quirks, and let your creativity shine.
- Milky Way photography is part science, part art. Try different settings, learn from mistakes, and remember — practice makes perfect.
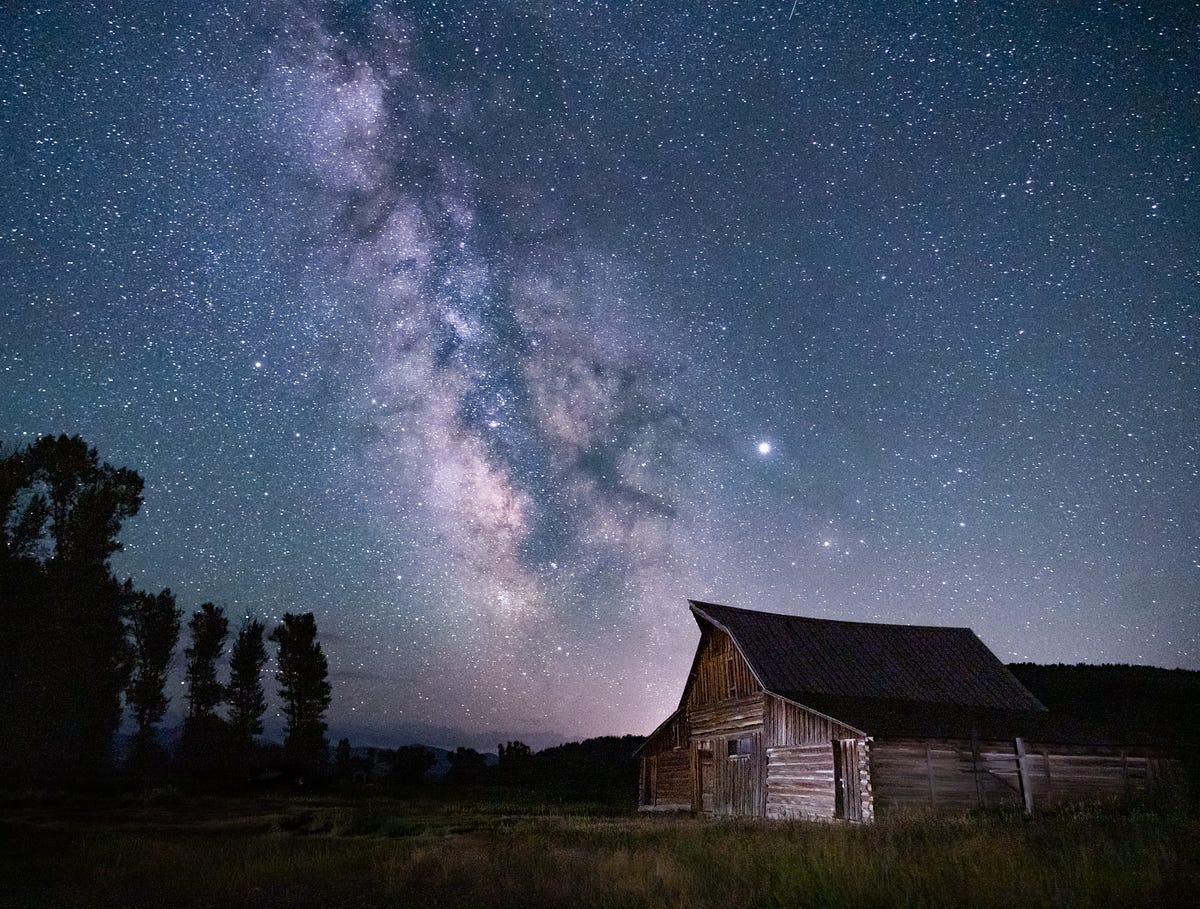
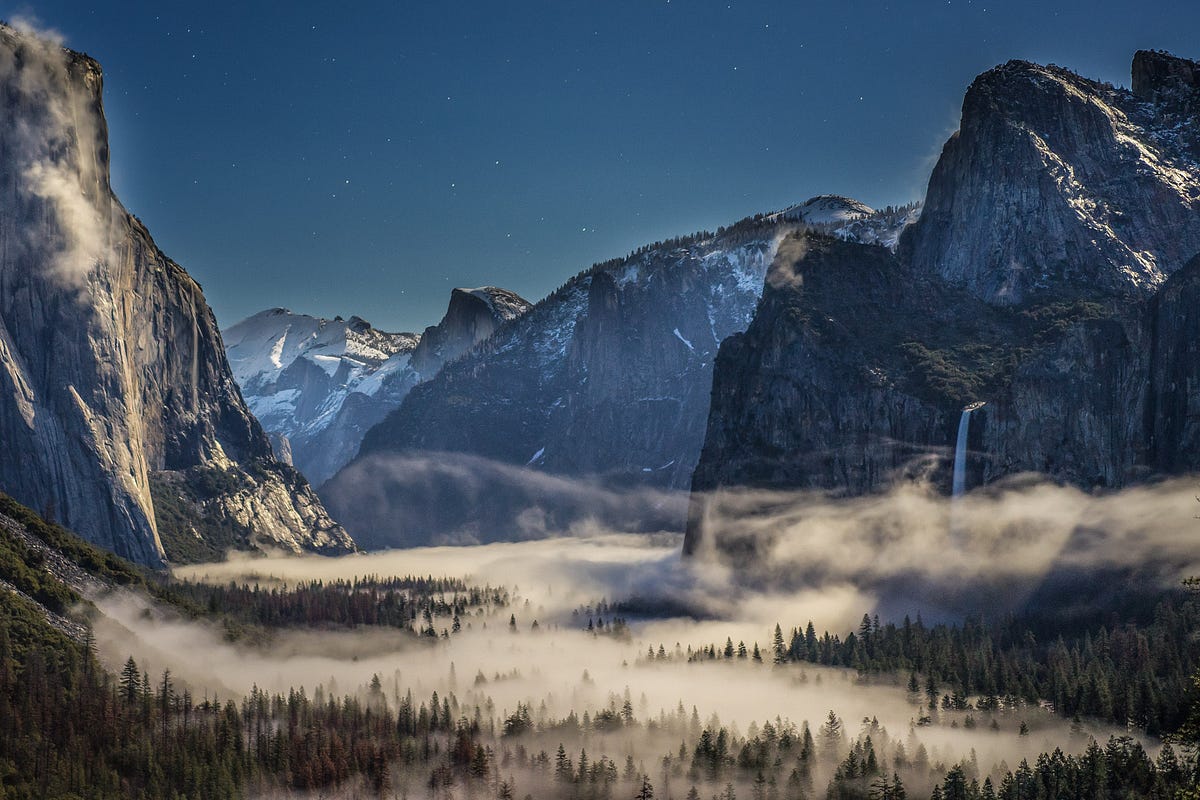
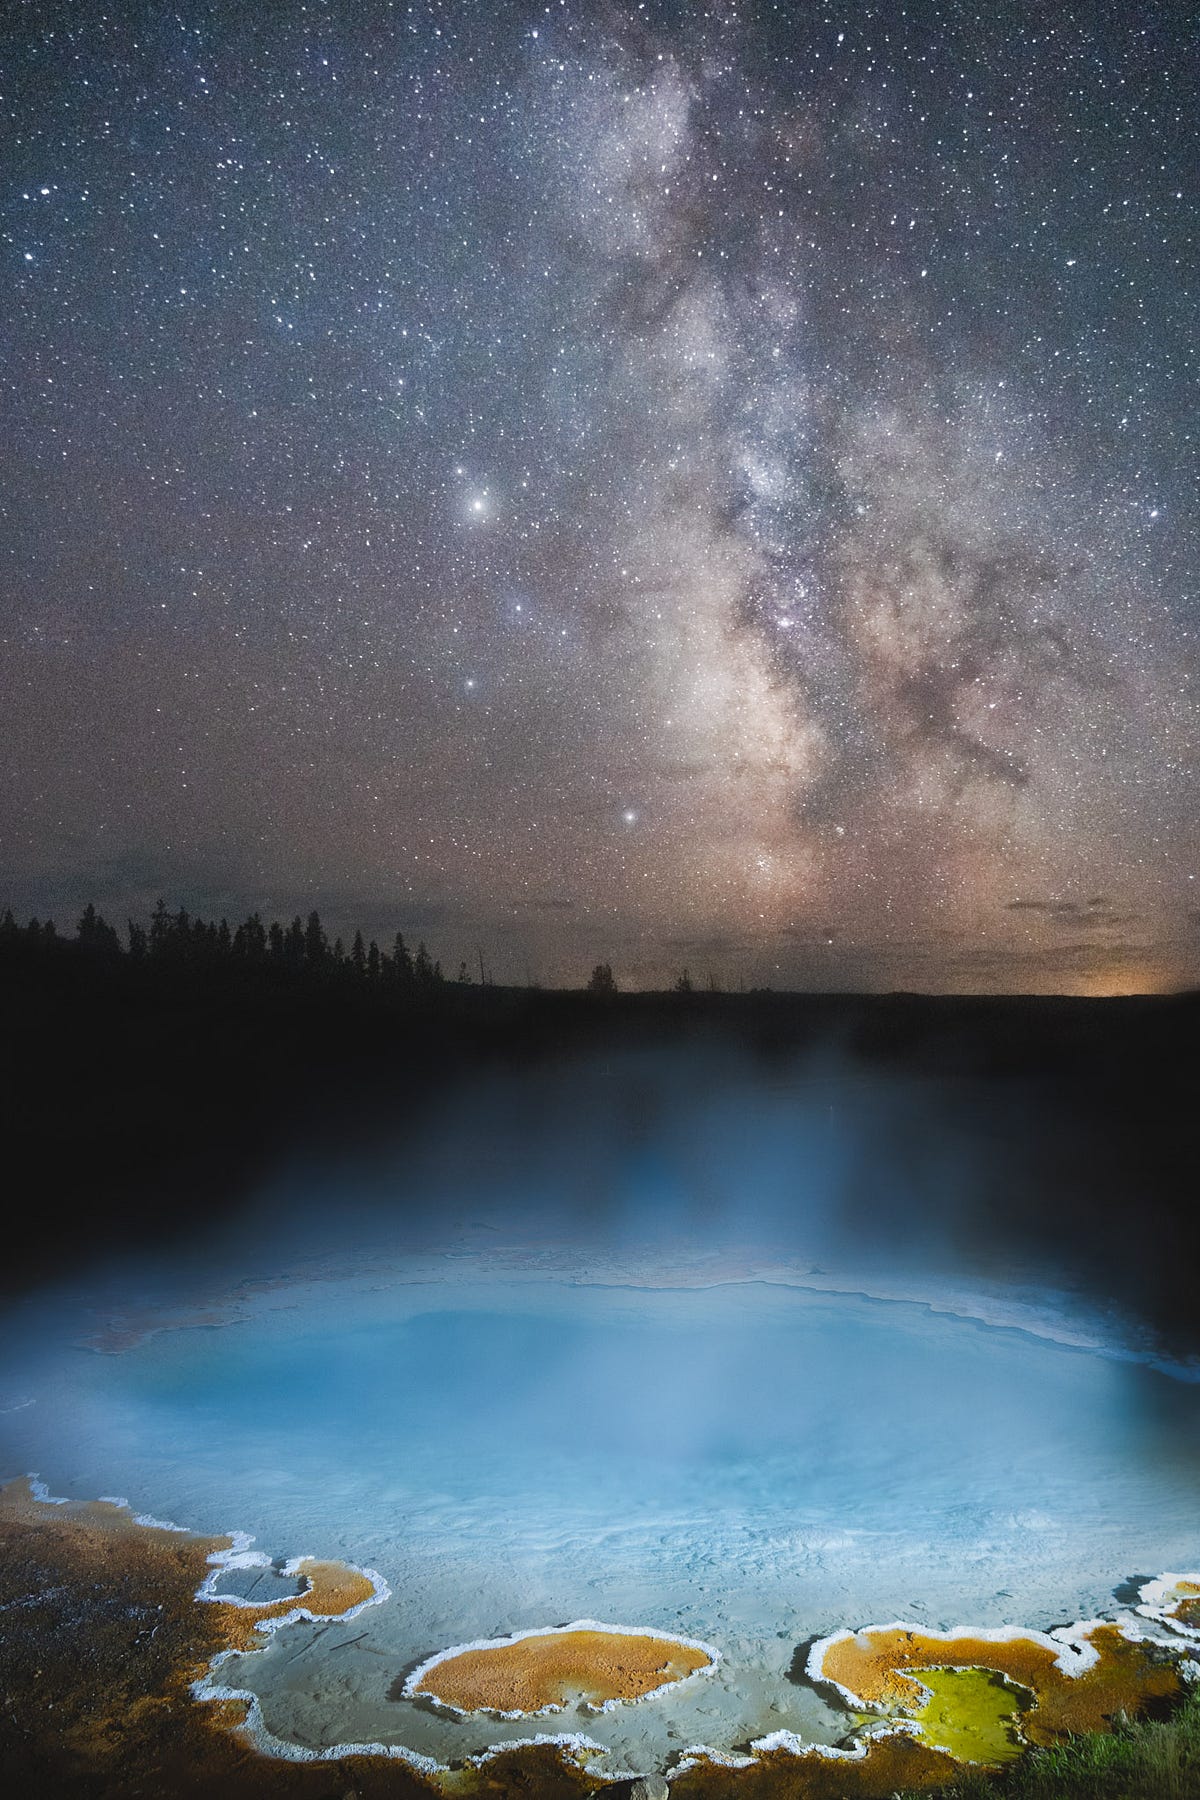
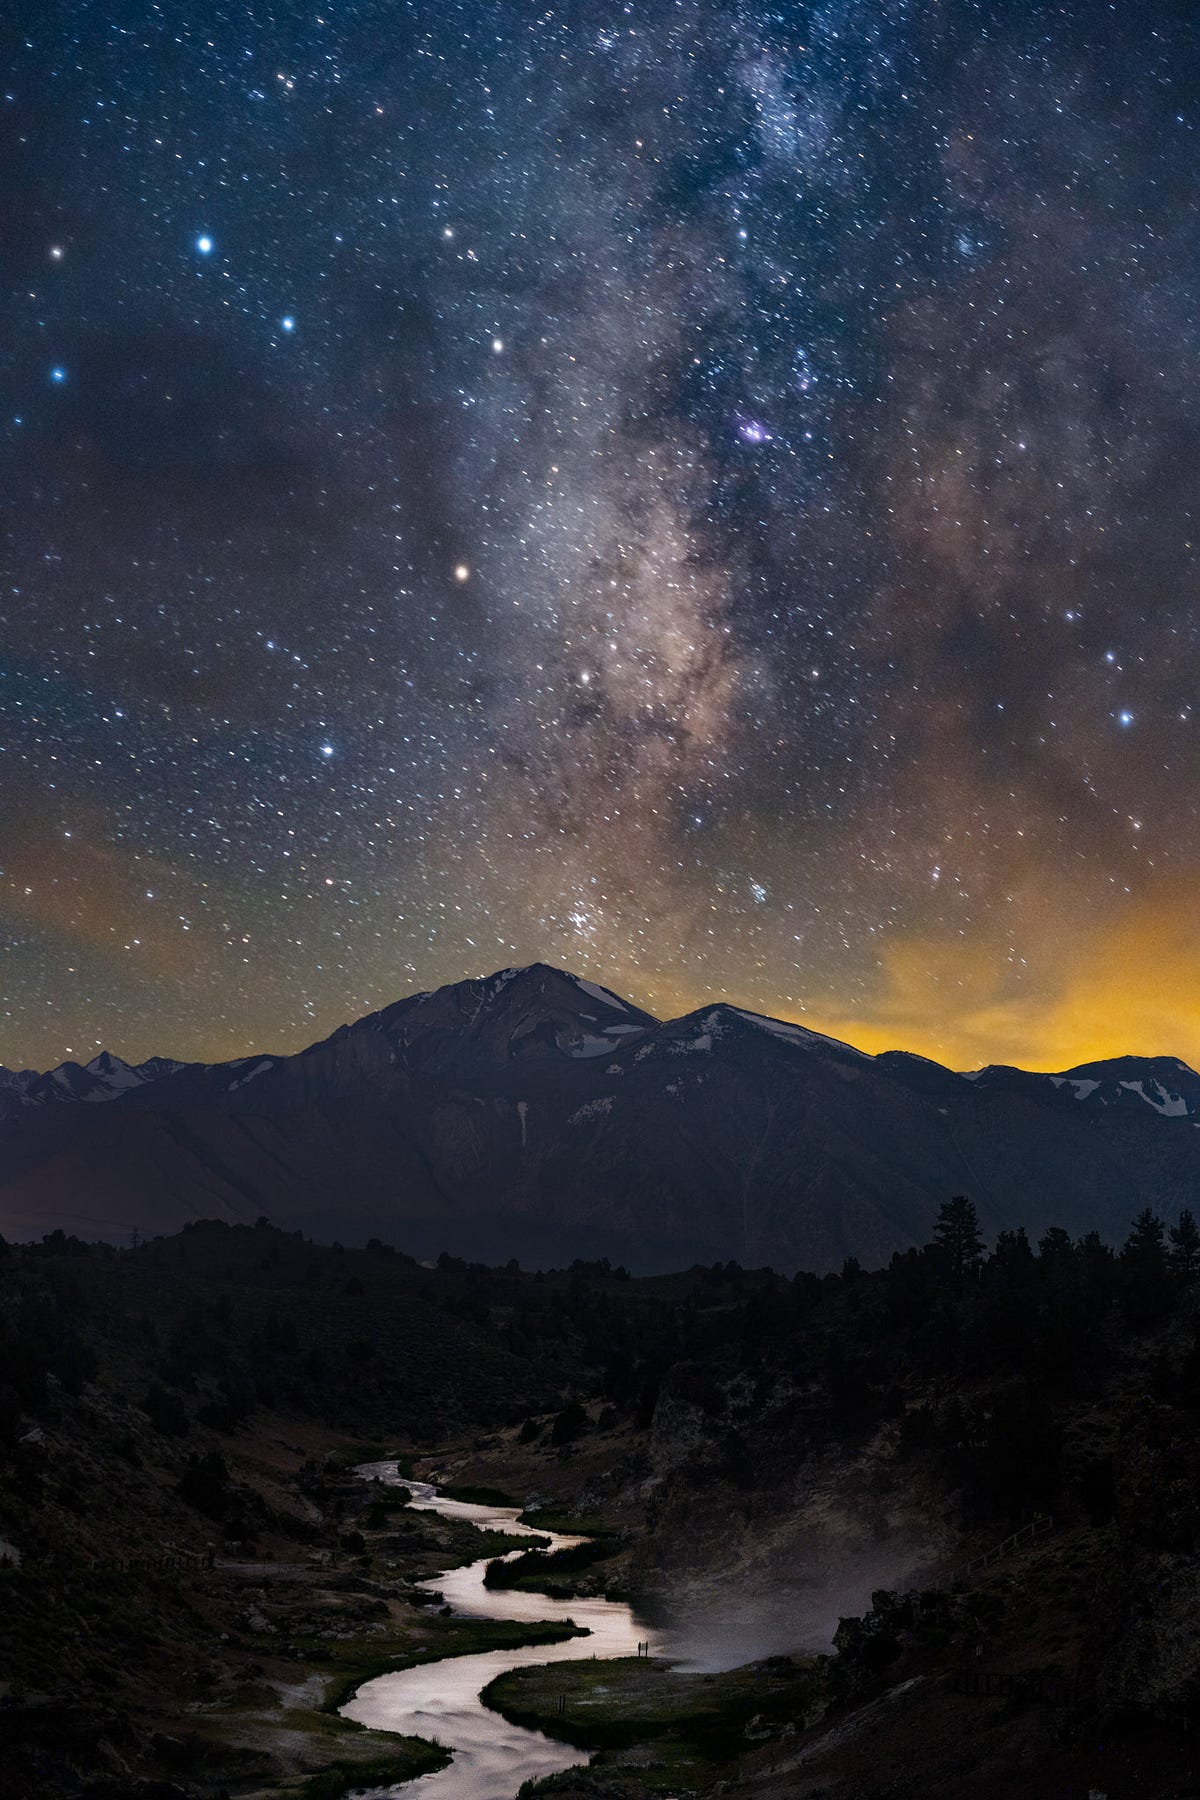
Here are some of my most cherished Milky Way shots; they each have an interesting story behind them.

